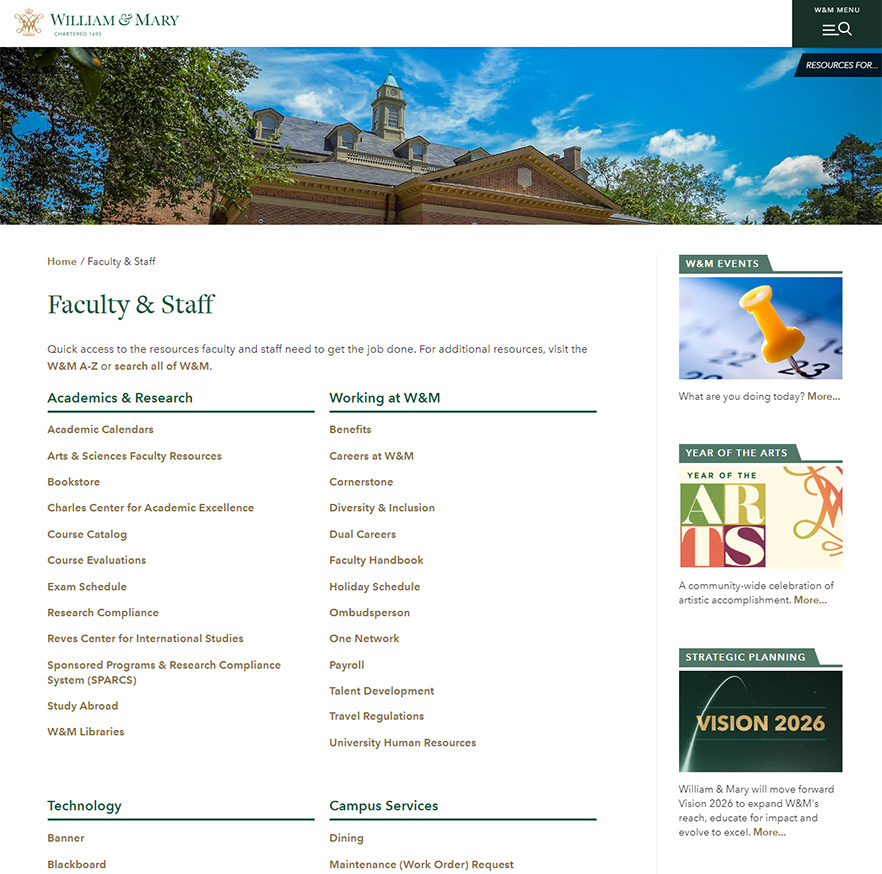
Gateway Page
Do you have a collection of helpful links to add to your site, but you’re not sure how to display them? Use a Gateway Page!
Before you get started, take a look at some existing Gateway Pages for examples:
Creating a new Gateway Page
- Select the folder that you would like to contain your new folder with the gateway page.
- Click Add Content >> Folder with Gateway Page. The left column is optional on gateway pages. If you would like to show the left column, select Add Content >> Folder with Gateway Page - Left Nav.
- Fill in an appropriate Folder Name (no spaces, all lowercase).
 If you plan to have a link to your gateway page in the left column, fill in an appropriate Display Name and submit (‘Display in Menu’ should be selected by default. If you do not want your gateway page to be linked to from the menu, uncheck the box).
- To start adding content to your gateway page, edit the index page.
- Add an appropriate Title to your page.
- If you would like to add a short description to your page, you can add that content using the WYSIWYG editor.
- In the Gateway Section field, add a Section Title. For example, if you were adding a collection of links for services offered on campus, you may name this section “Campus Services.”
- Start adding links in the Section Links field. The Link Text is the text that will appear on your page, and it can be linked to an internal page, an internal pdf, or an external page.
- To add a new Gateway Section, click the green plus sign within the Gateway Section field.
- To add a new link within a particular Gateway Section, click the green plus sign in the Section Links field.
- Use the + and - button to add or delete cards. Use the up/down arrows or drag-and-drop to reorder the cards.
- (optional) Prepare and upload a Social Media Thumbnail image.
- Add widgets or other right column features to your page (optional and only available on gateway pages without left nav).
- Preview Draft >> Submit >> Check Content & Submit, then publish your Gateway folder.


