Directory Photos
If you do not have photo editing software available to you, try one of these image editors.
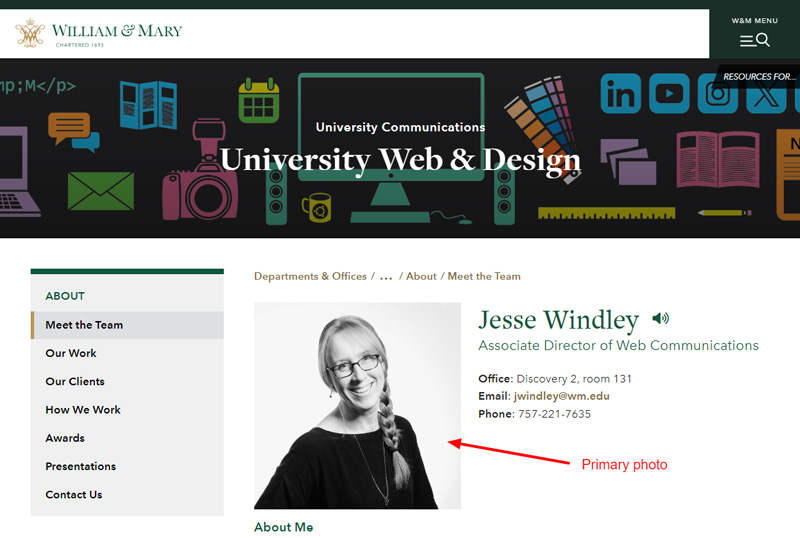
Step 1: Create and upload a primary photo
This larger photo will appear on the directory page. A recommended size is 200 x 200 or 200 x 300 pixels. The image doesn't have to be square, but it's a good idea to limit the image width to about 300 pixels.- Crop and save your photo. We recommend .webp or .jpg for all photos and for graphics without a transparency. For graphics with transparency, we recommend .webp or .png. Save your image with a name using no spaces that is all lowercase.
- In Cascade, upload your image.
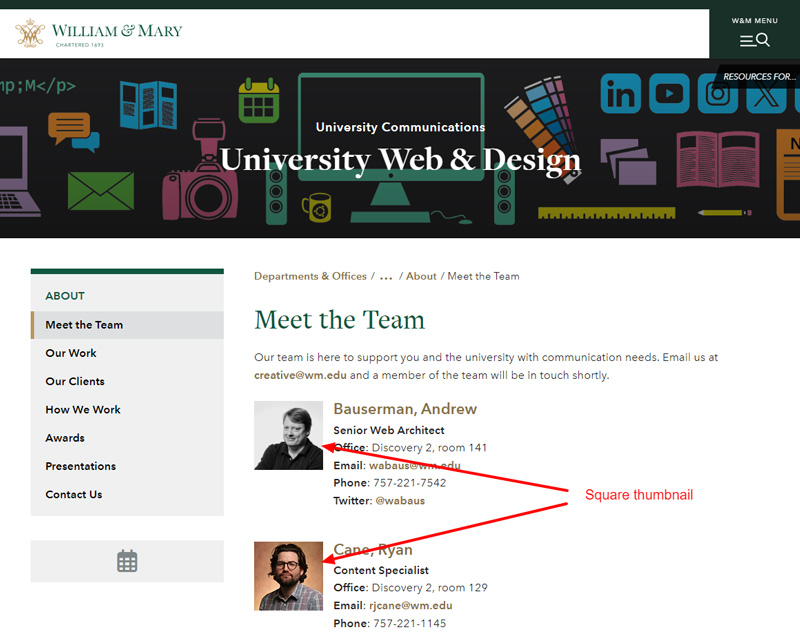
Step 2: Create and upload a square thumbnail
- The photo thumbnail will appear on the directory listing page. (Here's an example).
- Your thumbnail image must be cropped square (100 x 100 or 200 x 200 pixels is recommended). To simplify your upload process, save your image with a name using no spaces that is all lowercase.
- In Cascade, upload your image.


